Maintaining the beauty of your outdoor pavers can be a real game-changer for your home’s curb appeal. I’ve discovered that the right sealant not only enhances their color but also shields them from the elements. Whether you have a cozy patio or a sprawling driveway, understanding how to protect your pavers is essential.

In this article, I’ll share my top tips for choosing and applying paver sealants effectively. From selecting the best type for your specific needs to mastering the application process, you’ll find practical advice to keep your pavers looking fresh and vibrant year-round. Let’s dive in and ensure your outdoor spaces stay stunning for years to come.
Understanding Paver Sealants
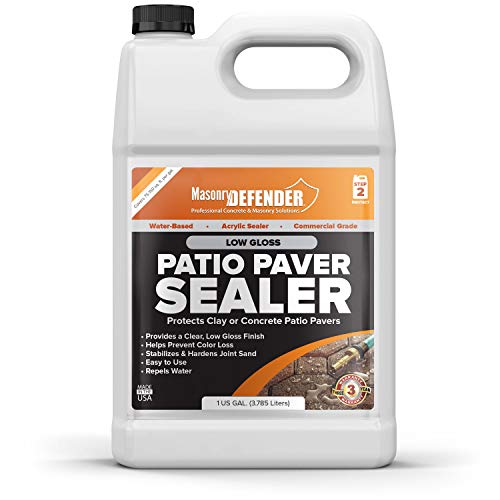
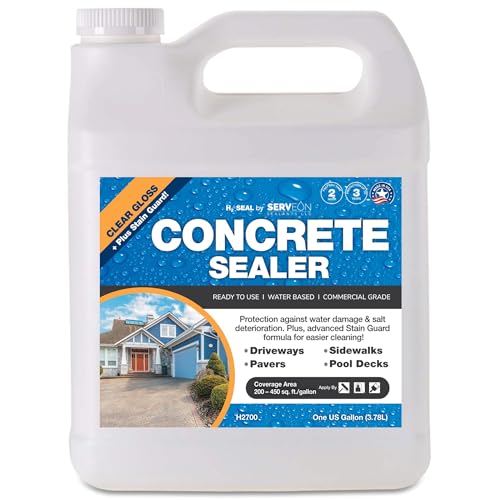
Paver sealants safeguard your outdoor surfaces from environmental damage while enhancing their appearance. Choosing the right sealant ensures long-lasting protection and vibrant colors.
Types of Sealants
There are three main types of paver sealants:
- Acrylic Sealers
- Offer a glossy finish
- Best for enhancing color
- Penetrating Sealers
- Absorb into the paver surface
- Provide protection without altering appearance
- Film-Forming Sealers
- Create a protective layer on top
- Resistant to stains and spills
How Sealants Protect Pavers
- Water Resistance: Prevent moisture penetration, reducing freeze-thaw damage
- Stain Prevention: Shield against oil, grease, and organic stains
- UV Protection: Minimize fading from sunlight exposure
- Mold and Mildew Inhibition: Discourage growth on the paver surface
| Protection Type | Benefit |
|---|---|
| Water Resistance | Reduces freeze-thaw cycle damage |
| Stain Prevention | Keeps pavers looking clean and new |
| UV Protection | Maintains color integrity over time |
| Mold Inhibition | Ensures surfaces remain hygienic |
Benefits of Sealing Your Pavers
Sealing my pavers has significantly enhanced their look and durability. I saw immediate improvements after applying a quality sealant.
Enhanced Appearance
Sealing boosts paver color saturation, making hues more vibrant and eye-catching. It creates a uniform finish, masking surface imperfections and ensuring a consistent look across my walkway and patio.
Increased Longevity
Sealing protects pavers from moisture, preventing damage from freeze-thaw cycles and reducing erosion. It resists stains from oils and spills, maintaining the paver’s integrity and extending their lifespan.
Choosing the Right Sealant
Selecting the right sealant ensures your pavers stay protected and vibrant. I consider various options to find the best fit for my outdoor spaces.
Water-Based vs. Solvent-Based
Water-based sealants clean up easily with soap and water. They emit fewer volatile organic compounds (VOCs), making them environmentally friendly. These sealants dry faster, allowing for quicker project completion.


Solvent-based sealants offer superior durability and longer-lasting protection. They create a tougher barrier against stains and UV rays. However, they require mineral spirits for cleanup and have higher VOC levels, which may affect air quality.
Factors to Consider
I evaluate the paver material before choosing a sealant. Different materials, like concrete, brick, or natural stone, respond uniquely to sealants. Climate plays a role; in areas with extreme weather, a more durable sealant is necessary.
Application ease matters to me. Some sealants require multiple coats or specific conditions, impacting the time and effort needed. I also consider maintenance requirements, ensuring the sealant remains effective with minimal upkeep.
Budget influences my choice. While high-end sealants offer extended protection, affordable options can provide adequate coverage for less demanding environments. I balance cost with performance to achieve the best results for my pavers.
Preparing Your Pavers for Sealing
I take several steps to ensure my pavers are properly prepared before sealing.


Cleaning and Maintenance
First, I remove all debris by sweeping the area thoroughly. Next, I use a pressure washer set to 1500 psi to eliminate dirt and grime effectively. If mold or mildew is present, I apply a mild bleach solution (1:10 ratio) and scrub the pavers until clean. Allowing the pavers to dry completely ensures the sealant adheres properly.
Repairing Damages
Then, I inspect my pavers for cracks or uneven surfaces. For small cracks, I fill them with a high-quality paver repair compound and smooth them with a trowel. If I find loose or broken pavers, I remove and replace them, making sure the base is compacted to maintain a level surface. Addressing these issues beforehand guarantees a smooth and effective sealant application.
Applying the Sealant
Applying sealant correctly ensures maximum protection for your pavers. Follow these steps to achieve a durable and even finish.
Tools and Materials Needed
- Sealant: Choose the appropriate type for your pavers.
- Paint Roller or Squeegee: For even application.
- Paint Tray: To hold the sealant.
- Protective Gear: Gloves and safety glasses.
- Masking Tape: To protect adjacent surfaces.
- Drop Cloths: To cover surrounding areas.
- Brushes: For edges and tight areas.
- Extension Pole: For hard-to-reach spots.
- Cleaning Supplies: Mild detergent and water mixture.
Step-by-Step Application
- Prepare the Area
Cover nearby plants and furniture with drop cloths. Use masking tape to protect edges.
- Load the Sealant
Pour sealant into the paint tray. Ensure you have enough for continuous application.
« How to Care for a Moss Lawn: Essential Tips for a Lush, Low-Maintenance Yard How to Design a Landscape for Stargazing: Create Your Perfect Night Sky Retreat »
- Apply the Sealant
Start at one corner, using a roller for large areas. Use brushes for edges and tight spots.
- Maintain a Wet Edge
Work in small sections to prevent lap marks. Keep the sealant wet as you move.
- Allow to Dry
Let the first coat dry for the recommended time, usually 24 hours. Check the product instructions.
- Apply a Second Coat
If desired, apply a second layer following the same method for added protection.
- Clean Up
Clean tools with water if water-based or with appropriate solvents for other types. Remove drop cloths and tape once dry.
- Cure Time
Avoid foot traffic for at least 24 hours to ensure the sealant sets properly.
By following these steps, your pavers receive thorough protection, enhancing their longevity and appearance.
Maintaining Sealed Pavers
Keeping my sealed pavers in top condition ensures their longevity and vibrant appearance. Here are some essential tips for regular maintenance.
Regular Cleaning Tips
Maintaining sealed pavers involves consistent cleaning to prevent dirt and stains from setting in. I use a garden hose with a high-pressure nozzle to remove loose debris weekly. For tougher stains, a mixture of mild detergent and water effectively breaks them down without damaging the sealant. Occasionally, I sweep the area with a soft-bristle broom to eliminate dirt buildup. Additionally, I promptly address spills by wiping them with a clean cloth to prevent staining.
Reapplication Schedule
Reapplying the sealant maintains optimal protection for my pavers. I monitor the pavers for signs like fading color or reduced water resistance. Typically, I reapply the sealant every two to three years, depending on the climate and usage. In areas with heavy foot traffic or harsh weather, I opt for a biennial schedule to ensure continuous protection. Before reapplying, I clean the pavers thoroughly and allow them to dry completely to ensure proper adhesion of the new sealant coat.
Conclusion
Sealing my pavers made a huge difference in keeping my outdoor space vibrant and protected. It’s satisfying to see the colors stay bright and know they can handle whatever the weather throws at them. Regular maintenance and timely sealant applications truly extend their life and beauty. I highly recommend using these tips to enjoy a stunning and durable outdoor area for years to come.


